This guide provides step-by-step instructions for installing and configuring an I2P node on Debian-based systems. Although the commands mentioned here are specific to Debian, most Linux distributions support I2P.
Requirements
Step 1 - To ensure a smooth installation process, it is important to fetch the necessary prerequisites and update your server.
sudo apt update && sudo apt upgrade -y && sudo apt install default-jdk wget -y
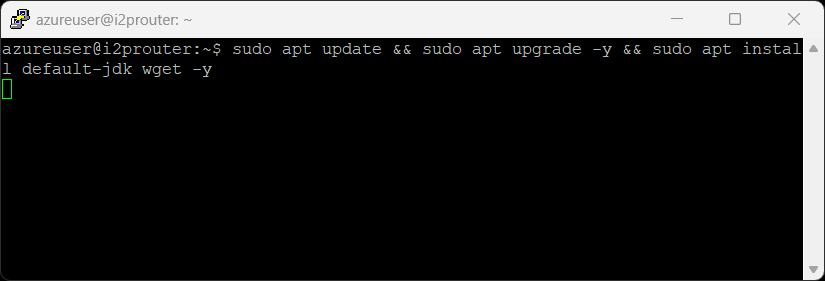
Step 2 - To maintain optimal security and system integrity, it is not recommended to run I2P as a root user. Therefore, we will be initiating a new user profile specifically to operate the I2P-router.
sudo adduser i2p && sudo usermod -aG sudo i2p
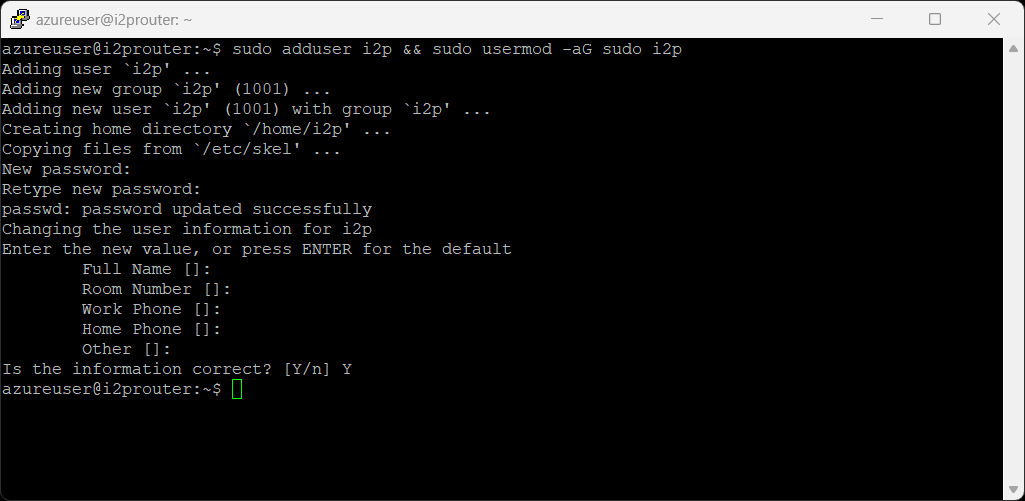
Step 3 - Moving forward, let's transition to the recently created user profile and proceed with retrieving the necessary I2P software components.
Note: At the time of writing this, 2.6.0 was the latest release, so our URLs in the examples reflect that. To check for the latest releases, view and amend the instructions as needed below.
https://i2pplus.github.io/
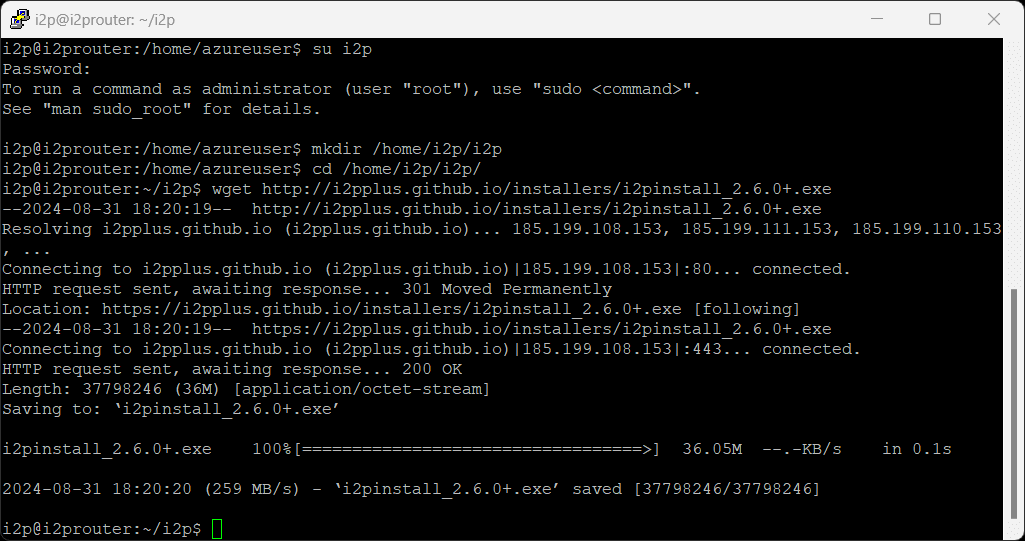
su i2p
mkdir /home/i2p/i2p
cd /home/i2p/i2p/
wget http://i2pplus.github.io/installers/i2pinstall_2.6.0+.exe
Step 4 - After download, execute the headless Java installer for a quick, terminal-based setup. If your language of choice is english you can leave all settings as default.
java -jar i2pinstall_2.6.0+.exe -console
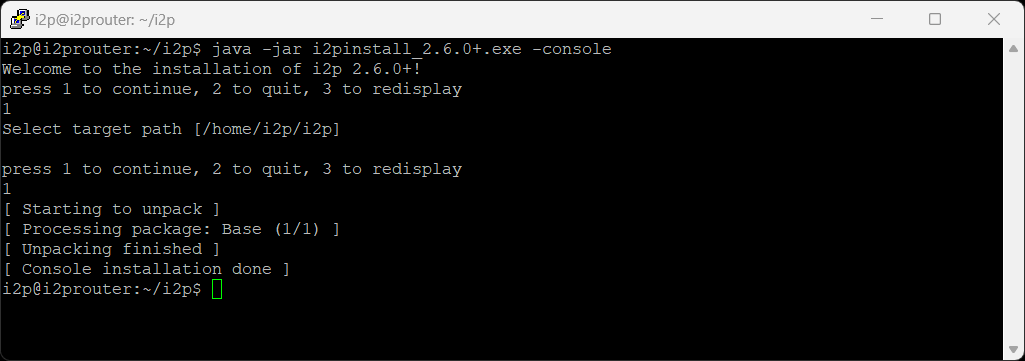
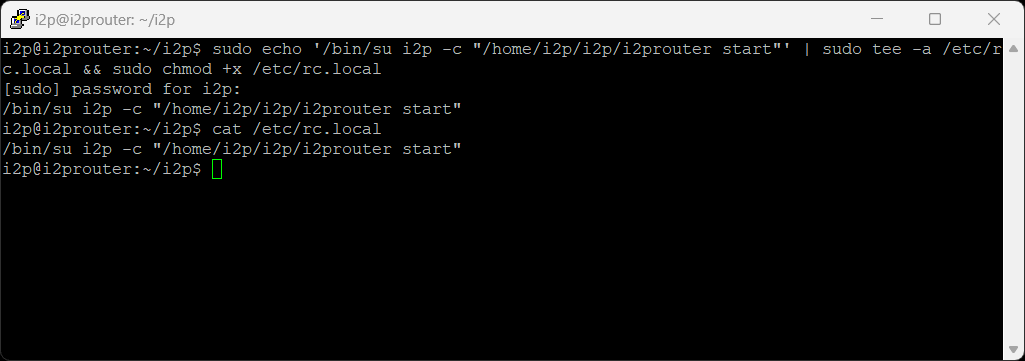
Step 5 - It's crucial to ensure that I2P initiates automatically upon server reboot, guaranteeing continuous functionality.
sudo echo '/bin/su i2p -c "/home/i2p/i2p/i2prouter start"' | sudo tee -a /etc/rc.local && sudo chmod +x /etc/rc.local
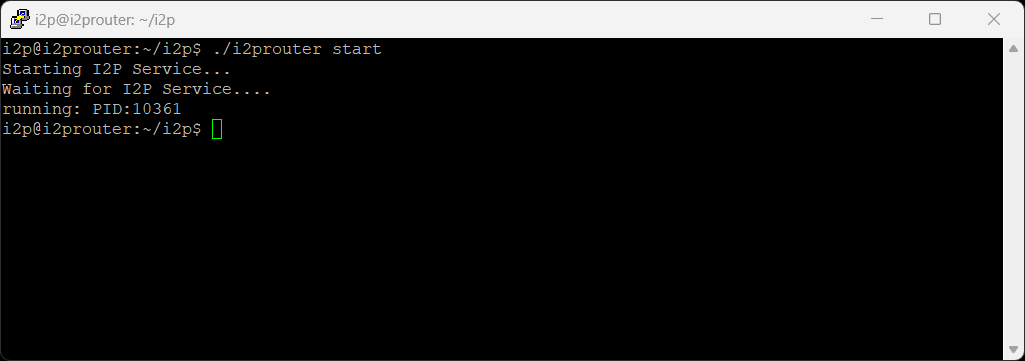
Step 6 - We need to start I2P.
./i2prouter start
The next step will depend on your system configuration. If you have a desktop environment installation please skip to Post Installation Instructions. If your server is remote please skip to How to create SSH Tunnel.
Step 7 - Congratulations you have successfully configured an I2P node. New nodes can take some time to integrate with the network. So not all I2P websites & application will work straight away and can take some time for the router to be intergrated into the I2P Network. Learn more about accessing the I2P Network & Applications.
While the default I2P+ will work with no changes, there are several modifications that we can make to improve the experience and performance.
Step 1.- Navigate to the Router Console Update Page
Step 2 - Change the Update policy to Download,verify, and restart, then click on Save.

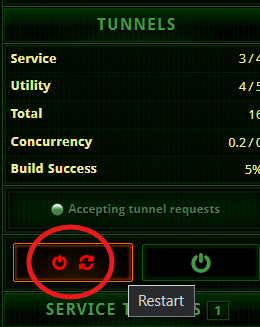
Step 3 - To reload the settings, you will need to restart your router. Click on the restart symbol in the bottom left.
I2P+ will work best if you configure your rates to match the speed of your internet connection. .
Step 1.- Navigate to the Router Console Bandwidth Configuration
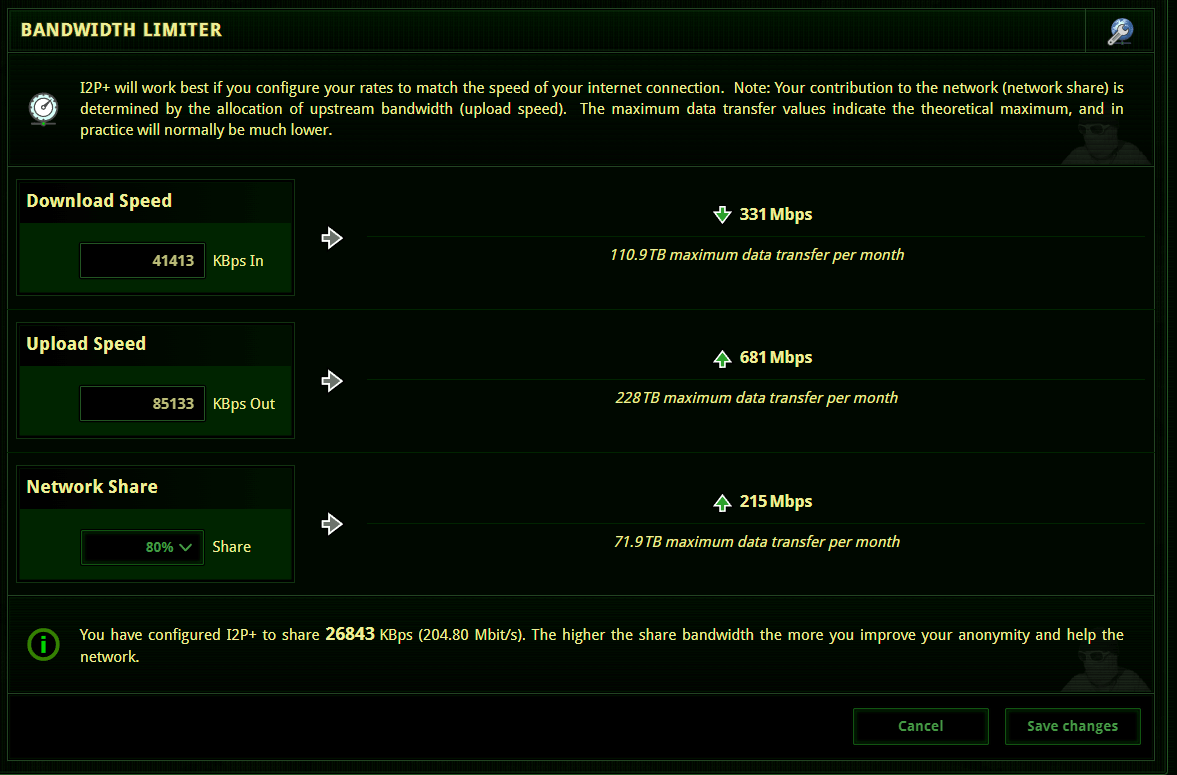
Step 2 - After entering your Download, Upload, and Network share percentage hit the Save Changes button.
Your contribution to the network (network share) is determined by the allocation of upstream bandwidth (upload speed). The maximum data transfer values indicate the theoretical maximum, and in practice will normally be much lower.
While I2P will work fine behind most firewalls, your speeds and network integration will generally improve if the I2P port is forwarded for both UDP and TCP.
We are unable to write a step by step guide to opening ports on a firewall as there are hundreds of different models each having their own settings. What we can do is provide some helpful links and guides to help accomplish this task.
You can visit PortForward.com to get instructions for your specific router model.
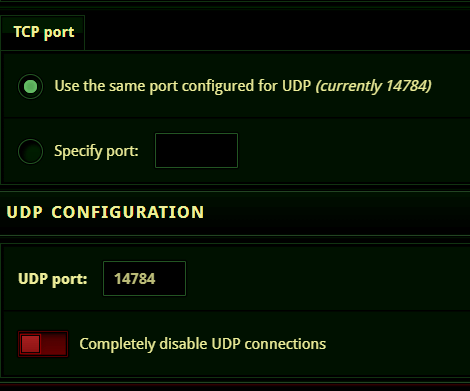
By default I2P+ picks a random port, visit your Router Console Network Configuration page. You will see your UDP & TCP port which you will need to forward.
