Install I2P+ on Windows
Setting up Windows I2P+ Node
This guide provides step-by-step instructions for installing and configuring an I2P node on Windows.
Requirements
- Java (JRE)
- For optimal performance and to effectively assist the I2P network, it is recommended to have a 24/7 internet connection.
Step 1 - We will need to install Java (JRE); if you already have this installed, step to skip 2. Java can be downloaded from java.com
Step 2 - To start we need to download the I2P+ package. We are able to download the installation directly from the I2P+ Github Repo
Note: At the time of writing this, 2.6.0 was the latest release, so our URLs in the examples reflect that. To check for the latest releases, view and amend the instructions as needed below.
https://i2pplus.github.io/
Step 3 - Launch the installer package as Administrator and accept the Windows UNC Prompts. If you have Windows defender running you will also need to allow the application through their smart screen tool.

Step 3 - Click on Next.
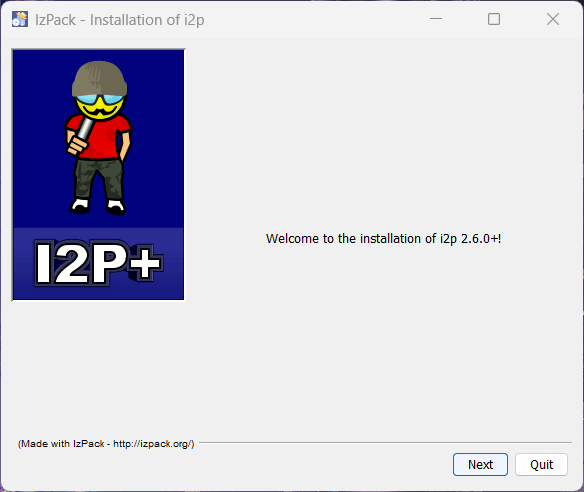
Step 4 - These options can not be changed just click on Next.
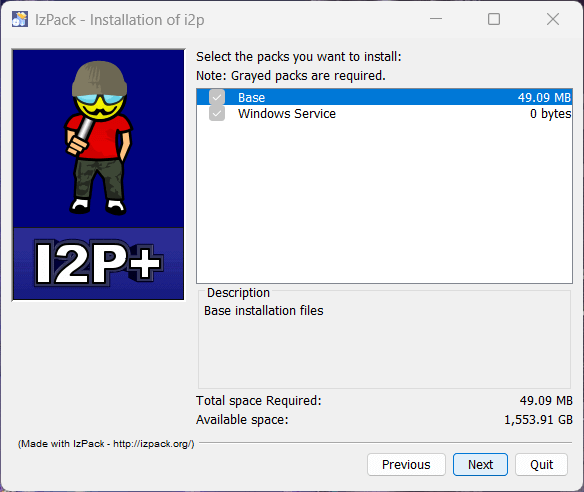
Step 5 - You can leave the default installation path alone or modify as required. Click on Next when a location as been selected.
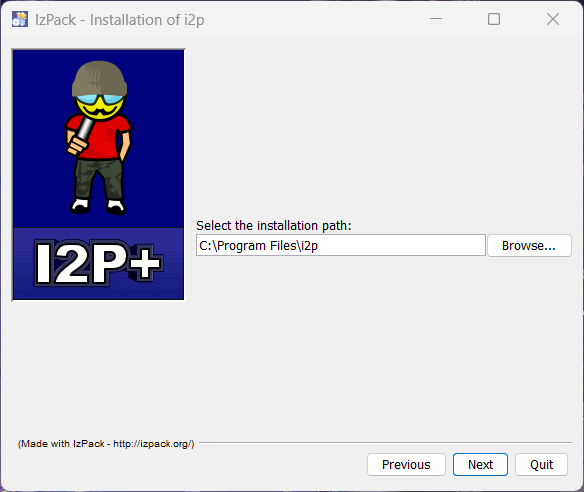
Step 6 - You will be prompted to create the I2P installation folder.

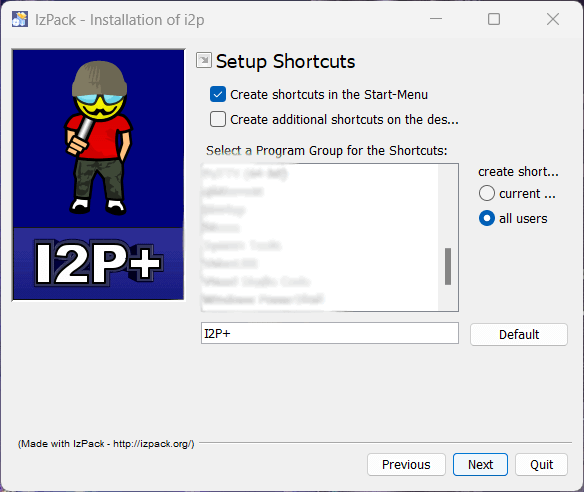
Step 7 - Unless you need to install I2P+ for only a certain user the default selections can be left and you can click on Next.
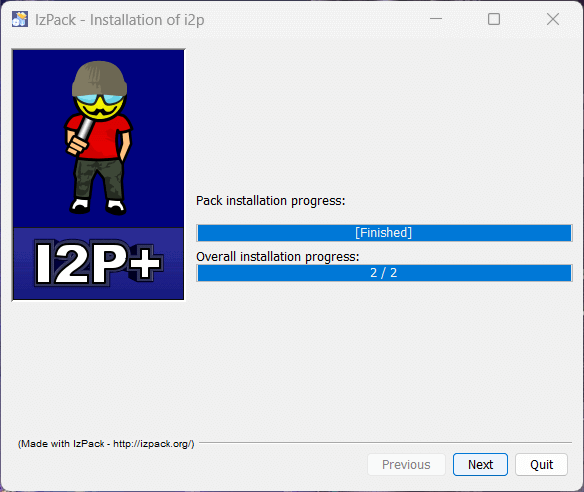
Step 8 - When the installation is finished you can click on Next which will close out the installation package.
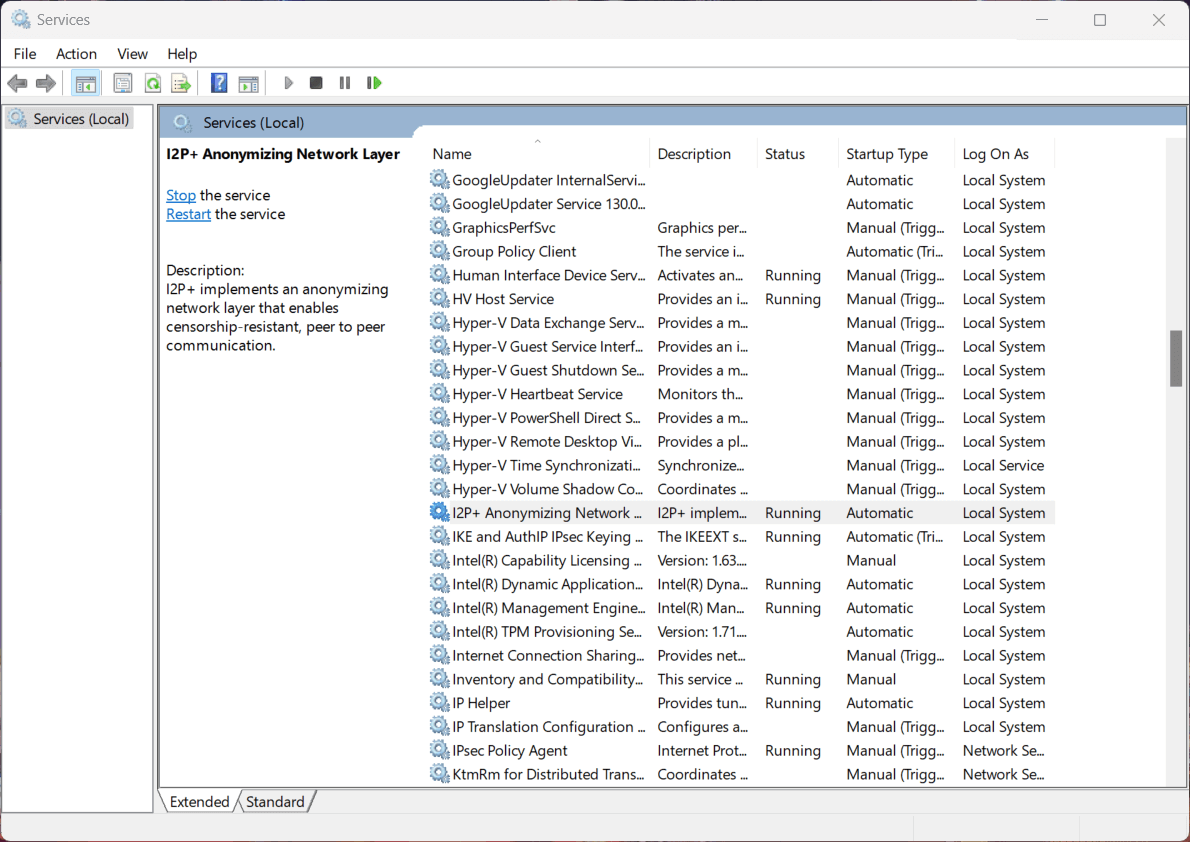
Step 9a - I2P+ Starts automatically, but if it does not you can start I2P+ either through the Application List or through the Windows Services Panel.

Step 9b - To Launch the Windows Services Panel, Hold the Windows Key and Hit R at the same time. In the run box type in services.msc and hit Okay.
You will want to find “I2P+ Anonymizing Network” and ensure that it is Running.
Step 10 - To Launch the I2P+ Router Console you can either us the Application List or open a browser and navigate directly to http://127.0.0.1:7657
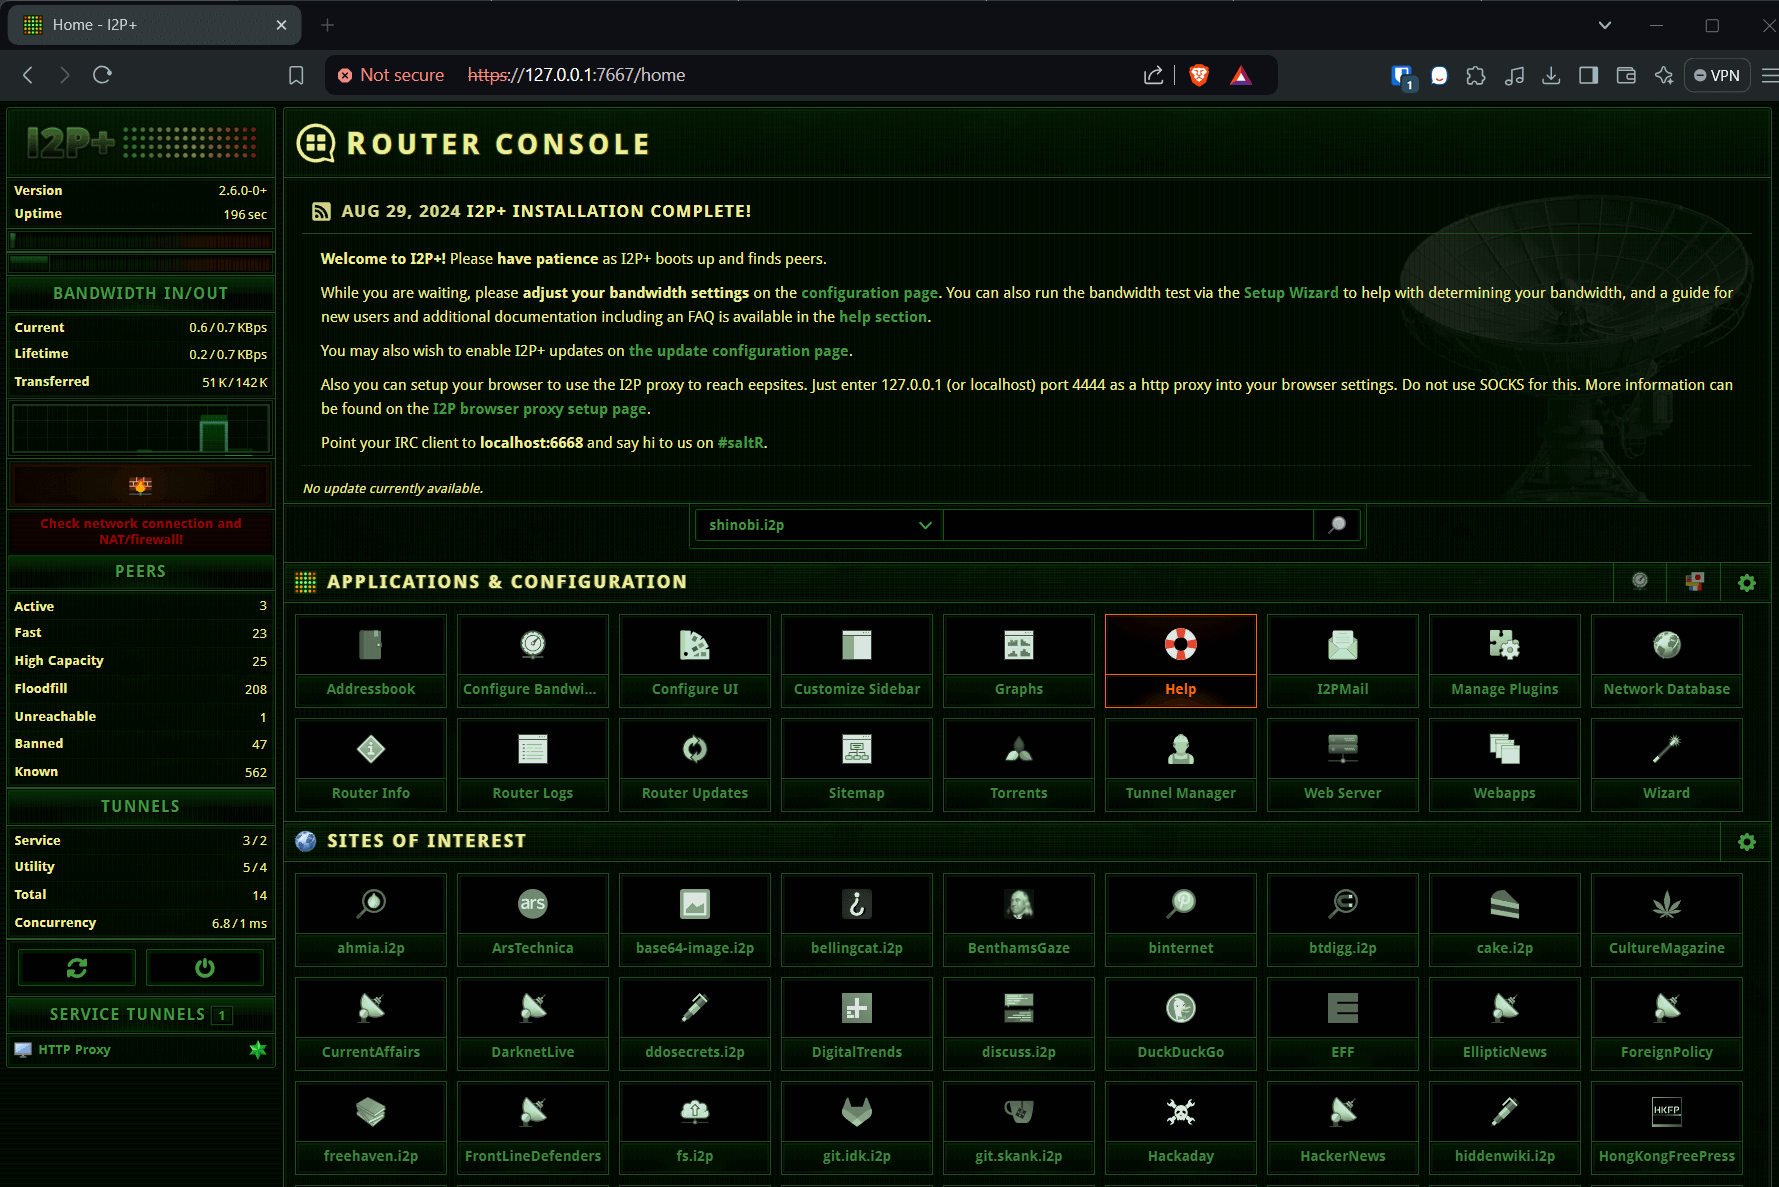
Congratulations you have successfully configured an I2P node. New nodes can take some time to integrate with the network. So not all I2P websites & application will work straight away and can take some time for the router to be intergrated into the I2P Network. Learn more about accessing the I2P Network & Applications.
Post-Install Configuration (optional)
While the default I2P+ will work with no changes, there are several modifications that we can make to improve the experience and performance.
Enabling automatic updates
Step 1.- Navigate to the Router Console Update Page
Step 2 - Change the Update policy to Download,verify, and restart, then click on Save.

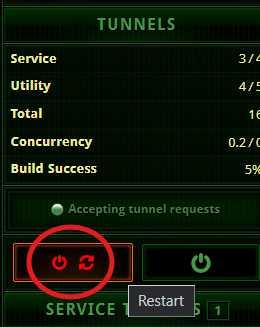
Step 3 - To reload the settings, you will need to restart your router. Click on the restart symbol in the bottom left.
Confuring Bandwidth Settings
I2P+ will work best if you configure your rates to match the speed of your internet connection.
Step 1.- Navigate to the Router Console Bandwidth Configuration
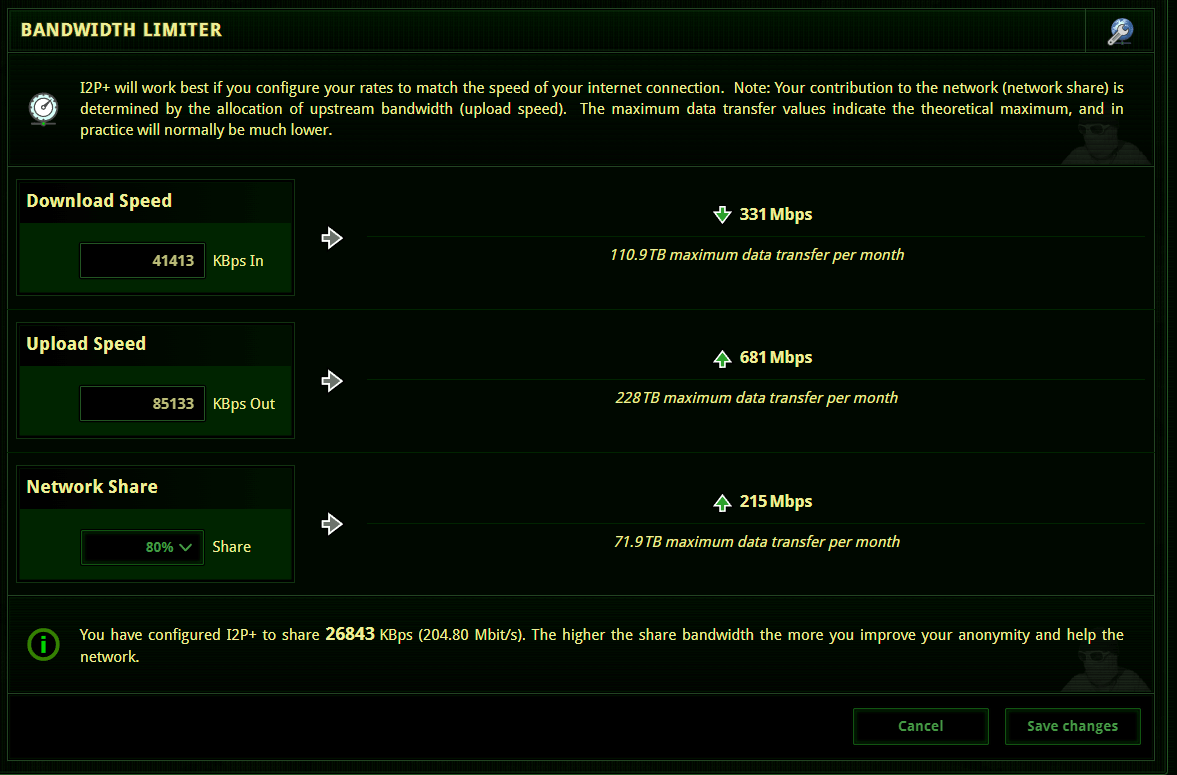
Step 2 - After entering your Download, Upload, and Network share percentage hit the Save Changes button.
The rest of the wizard can be skipped by either clicking Skip Setup or closing out of the browser tab.
Your contribution to the network (network share) is determined by the allocation of upstream bandwidth (upload speed). The maximum data transfer values indicate the theoretical maximum, and in practice will normally be much lower.
Opening Firewall
While I2P will work fine behind most firewalls, your speeds and network integration will generally improve if the I2P port is forwarded for both UDP and TCP.
We are unable to write a step by step guide to opening ports on a firewall as there are hundreds of different models each having their own settings. What we can do is provide some helpful links and guides to help accomplish this task.
You can visit PortForward.com to get instructions for your specific router model.
Allow Java through Windows Firewall
Open PowerShell as Administrator and run the command below.
$javaPath = (Get-Command java.exe -ErrorAction SilentlyContinue | Select-Object -ExpandProperty Source); if ($javaPath) { New-NetFirewallRule -Program $javaPath -Action Allow -Profile Domain,Private,Public -DisplayName "Allow Java" } else { Write-Output "java.exe not found in PATH." }
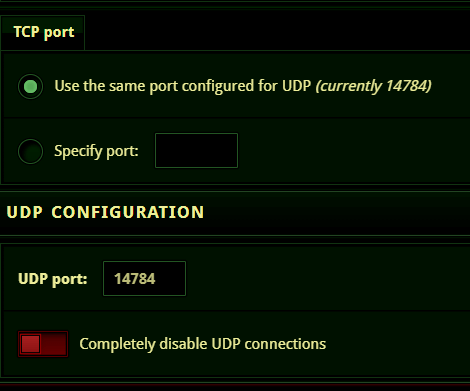
By default I2P+ picks a random port, visit your Router Console Network Configuration page. You will see your UDP & TCP port which you will need to forward.
