There are two ways to install I2P on Linux. Choose the method that best fits your needs:
Easy Install Script
Available NowBest for most users
A single command that automatically detects your distribution and installs I2P with sensible defaults.
Easy Install Guide →Standard Installation
Available NowFor advanced users
Run commands manually for your specific distribution and understand what each step does.
Standard Install Guide →Easy Install
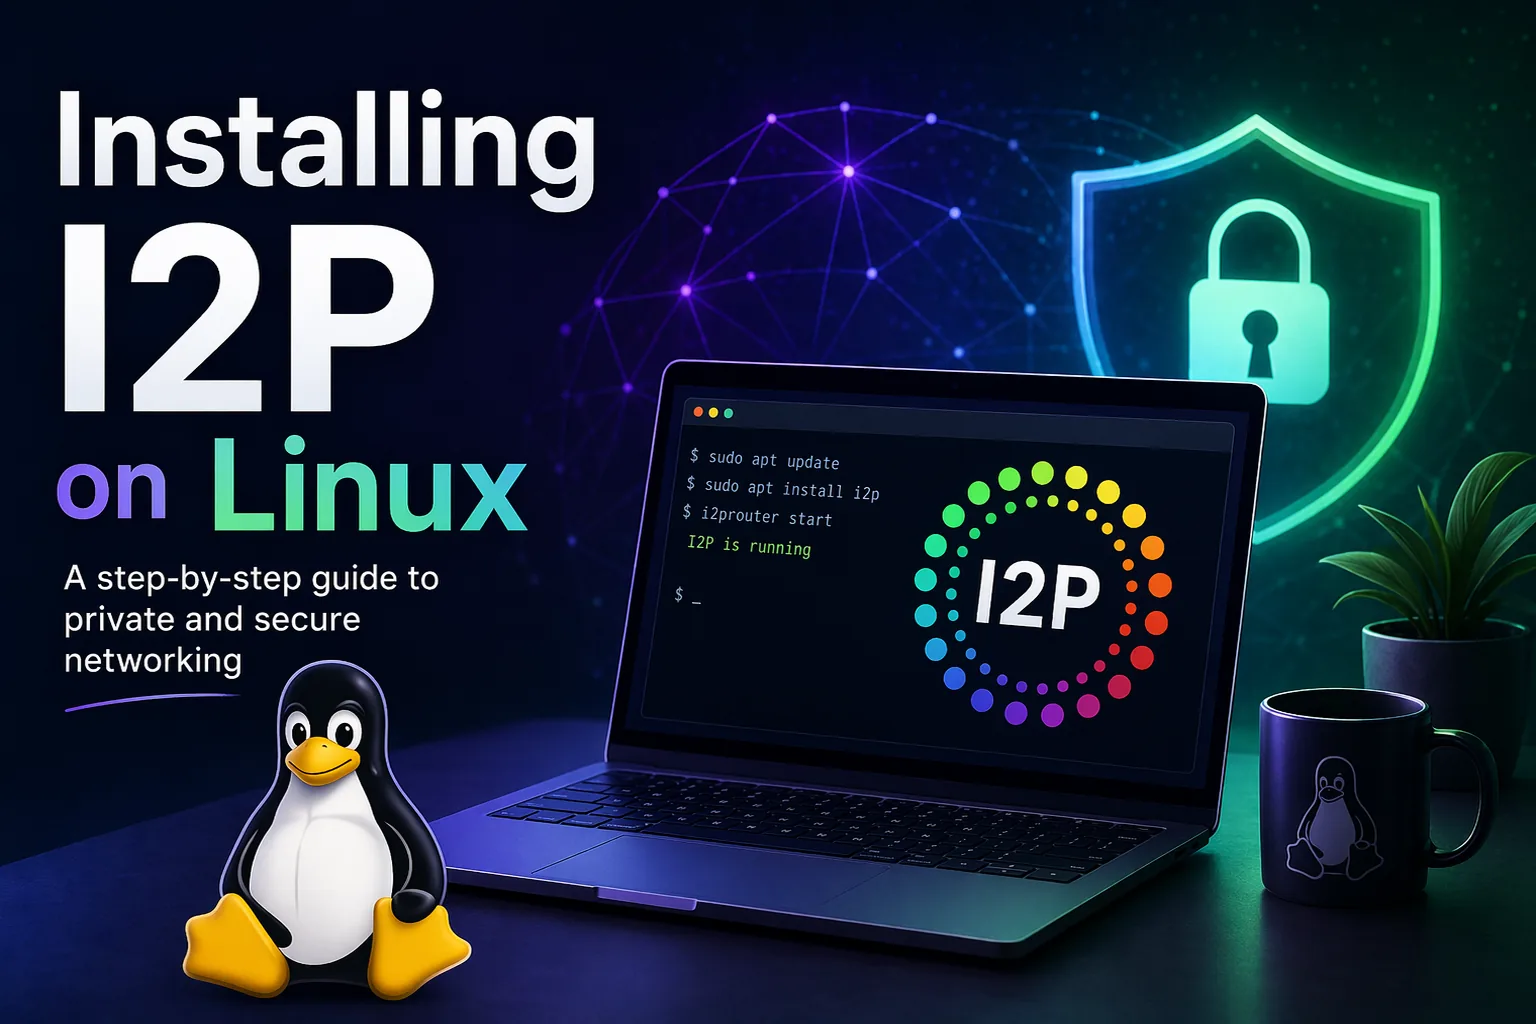
The one-line installer automatically detects your Linux distribution and installs I2P with the correct repository and signing keys. This is the fastest way to get up and running.
Run this command in your terminal:
curl -fsSL https://stormycloud.org/installi2p.sh | bash
What this does:
- Detects your Linux distribution (Debian, Ubuntu, Fedora, CentOS/RHEL, openSUSE)
- Adds the appropriate I2P repository and GPG signing keys
- Installs the I2P package
- Enables the I2P system service so it starts on boot
- Falls back to a Docker install if your distro is unsupported
When the installer finishes, the I2P router console will be available at http://127.0.0.1:7657. You can then continue to Post-Installation Configuration to fine-tune bandwidth and port forwarding.
Tip: If you’d rather inspect the script before running it, download it first with curl -O https://stormycloud.org/installi2p.sh, review the contents, then run it with bash installi2p.sh.
Standard Installation
Choose the instructions for your distribution:
Debian
For Debian and its derivatives (LMDE, Kali Linux, ParrotOS, Knoppix, etc.).
Step 1: Install prerequisites
sudo apt-get update
sudo apt-get install apt-transport-https lsb-release curl
Step 2: Download and install the repository signing key
curl -o i2p-archive-keyring.gpg https://i2p.net/i2p-archive-keyring.gpg
Verify the key fingerprint before trusting it:
gpg --keyid-format long --import --import-options show-only --with-fingerprint i2p-archive-keyring.gpg
Confirm the output shows this fingerprint:
7840 E761 0F28 B904 7535 49D7 67EC E560 5BCF 1346
Install the verified key:
sudo cp i2p-archive-keyring.gpg /usr/share/keyrings
Step 3: Add the I2P repository
For Debian Bullseye (11) or newer:
echo "deb [signed-by=/usr/share/keyrings/i2p-archive-keyring.gpg] https://deb.i2p.net/ $(lsb_release -sc) main" \
  | sudo tee /etc/apt/sources.list.d/i2p.list
For Debian derivatives (LMDE, Kali, ParrotOS, etc.):
echo "deb [signed-by=/usr/share/keyrings/i2p-archive-keyring.gpg] https://deb.i2p.net/ $(dpkg --status tzdata | grep Provides | cut -f2 -d'-') main" \
  | sudo tee /etc/apt/sources.list.d/i2p.list
Step 4: Install I2P
sudo apt-get update
sudo apt-get install i2p i2p-keyring
Ubuntu
Ubuntu and its derivatives (Linux Mint, elementary OS, Pop!_OS, etc.) can use the I2P PPA.
Step 1: Add the I2P PPA
sudo apt-add-repository ppa:i2p-maintainers/i2p
Step 2: Install I2P
sudo apt-get update
sudo apt-get install i2p
Fedora
# Enable the I2P COPR repository
sudo dnf copr enable i2porg/i2p

# Install I2P
sudo dnf install i2p

# Start and enable the service
sudo systemctl enable --now i2p
CentOS / RHEL / AlmaLinux / Rocky Linux
For RHEL-family distributions (CentOS Stream 9+, RHEL 9+, AlmaLinux 9+, Rocky Linux 9+).
Step 1: Install DNF plugins
sudo dnf install dnf-plugins-core
Step 2: Enable the I2P COPR repository
sudo dnf copr enable i2porg/i2p
Step 3: Install I2P
sudo dnf install i2p
Step 4: Start and enable the service
sudo systemctl enable --now i2p
openSUSE
For openSUSE Tumbleweed:
# Add the I2P repository
sudo zypper addrepo https://download.opensuse.org/repositories/home:i2p/openSUSE_Tumbleweed/home:i2p.repo
sudo zypper refresh

# Install I2P
sudo zypper install i2p

# Start and enable the service
sudo systemctl enable --now i2p
For openSUSE Leap 15.6:
# Add the I2P repository
sudo zypper addrepo https://download.opensuse.org/repositories/home:i2p/openSUSE_Leap_15.6/home:i2p.repo
sudo zypper refresh

# Install I2P
sudo zypper install i2p

# Start and enable the service
sudo systemctl enable --now i2p
Alpine Linux
Coming Soon
Step 1: Enable the community repository
Ensure the community repository is enabled in /etc/apk/repositories:
sudo sed -i 's/^#\(.*\/community\)$/\1/' /etc/apk/repositories
Step 2: Install I2P
sudo apk update
sudo apk add i2p
Docker
Run I2P using the official Docker image.
Step 1: Pull the image
docker pull geti2p/i2p
Step 2: Create a data volume
docker volume create i2p-data
Step 3: Run I2P
docker run -d \
  --name i2p \
  -v i2p-data:/i2p/.i2p \
  -p 7657:7657 \
  -p 4444:4444 \
  -p 4445:4445 \
  geti2p/i2p
The router console will be available at http://127.0.0.1:7657.
Post-Installation Configuration
After installing I2P, start the router and perform initial setup.
Starting I2P
As a system service (Recommended)
Debian/Ubuntu:
sudo dpkg-reconfigure i2p
Select “Yes” to enable I2P as a system service that starts on boot.
Fedora / CentOS / RHEL / AlmaLinux / Rocky:
sudo systemctl enable --now i2p
Alpine:
sudo rc-update add i2p default
sudo rc-service i2p start
On-demand
Start I2P manually when needed:
i2prouter start
Do not run this as root. To stop:
i2prouter stop
Configure NAT/Firewall
For best performance, forward I2P’s ports through your firewall:
- Open the Router Console
- Go to Network Configuration
- Note the UDP and TCP port numbers
- Forward both UDP and TCP on those ports in your router/firewall
If you need help with port forwarding, portforward.com has router-specific guides.
Adjust Bandwidth
The default bandwidth settings are conservative. To improve performance:
- Visit the Configuration page
- Increase bandwidth limits based on your internet connection